Code CR4100 Quick Start Uživatelský manuál Strana 8
- Strana / 14
- Tabulka s obsahem
- KNIHY

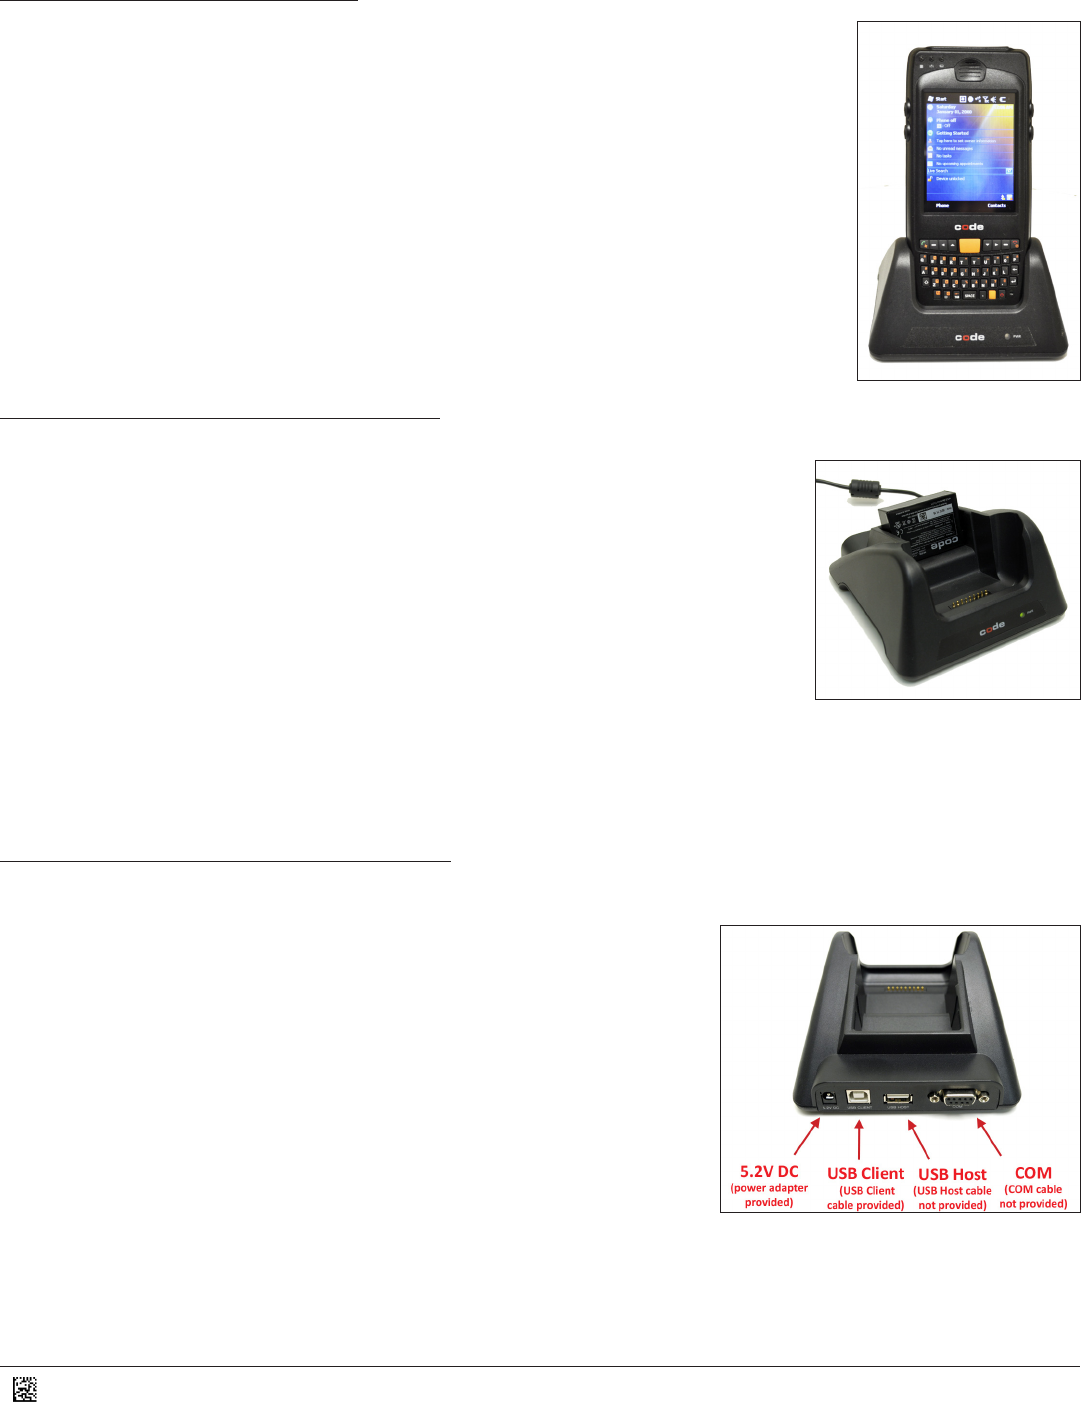
- Code Reader 4100 1
- Table of Contents 4
- 1.0 - What is Included 5
- 2.0 - Inserng the Baery 6
- 2.1 - Removing the Baery 6
- 2.5 - Charging the CR4100 8
- 2.8 - Using the Charging Cup 9
- 2.11 - Inserng an SD Card 9
- 2.12 - Inserng a SIM Card 10
- 3.1 - Opon Sengs 11
- 3.2 - Symbologies 11
- 3.3 - Prexes/Sufxes 12
- 3.4 - Buon Sengs 13
- 3.5 - File Install 13
- 3.6 - About 13
- 4.2 - Reseng the CR4100 14
Související produkty a manuály pro Zařízení Code CR4100 Quick Start
 (64 stránky)
(21 stránky)
(64 stránky)
(21 stránky)
© 2020, manymanuals.cz. Všechna práva vyhrazena. | 0.027 s |
 Manymanuals.com
 Manymanuals.de
 Manymanuals.fr
 Manymanuals.it
 Manymanuals.pl
 Manymanuals.cz
 Manymanuals.es
 Manymanuals-pt.com
Komentáře k této Příručce